Adding photos to facebook
One of the great ways of sharing things on Facebook is by posting photos of events, scenes or generally anything that interests or amuses you as you go about your day. As most people now have smart phones this has become increasingly easy.
There are several ways to do this but we will look at uploading them from your computer and from an iPhone and this guide will show you how. 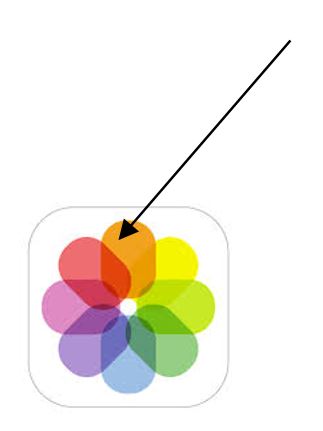
Step 1: Uploading photo to Facebook
To upload photos to Facebook on your phone you must firstly have the Facebook app installed and be logged into your account.
If you are taking photos on your iPhone then it makes complete sense to upload directly to Facebook. Photos taken on your phone are nested in the photos library, the icon for this is the multi-coloured flower displayed here on the right.
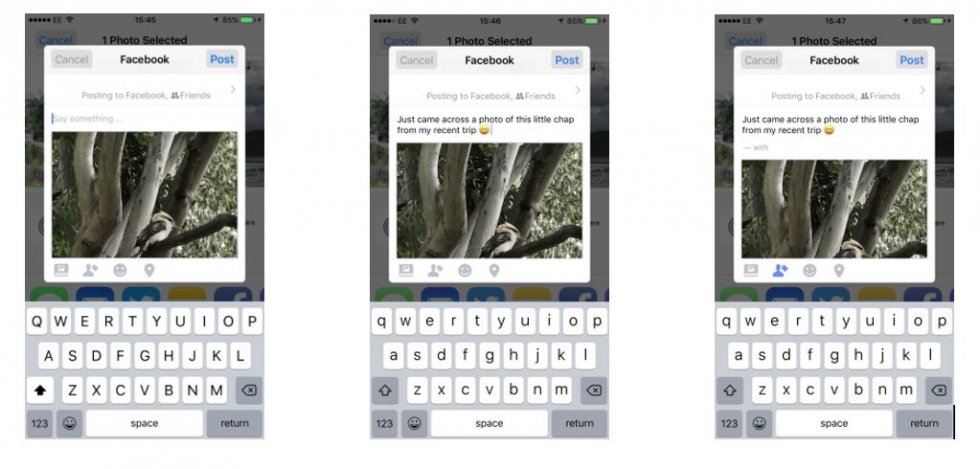
Firstly, click on an image to upload to Facebook (a tick will show which one you have selected and you can select more than one if you want). Next click on the Facebook icon and a window will open showing your image in a new post.
Step 2: Posting a photo to Facebook
This will give you the option to include a comment on the image and to add a person from your friends list if you want. Click on Post.
If you are using Facebook on a Windows computer posting photos is also easy. Note they must be stored in your computer in order for this to be possible and must either be a scan of a printed photo or transferred there from either a digital camera or a phone. Photos can also be at a location that is accessible via your computer such as Dropbox.
Step 3: Creating a Facebook photo album
We have covered adding a photo to your posts in our 'How to Post to Facebook' guide but it is also possible to create an online album of photos as part of your profile. This is great if you have been to an event such as a birthday party or wedding and want to upload several photos to share with other guests.
On your page click on Photos where you have two choices either to add an individual photo or video or to Create Album

Click on Create Album and a window will open to take you to photographs. This will usually be Pictures or My Pictures depending on which version of Windows you are using but you can direct your search to anywhere that you keep the images you want such as an external drive (a USB for instance).

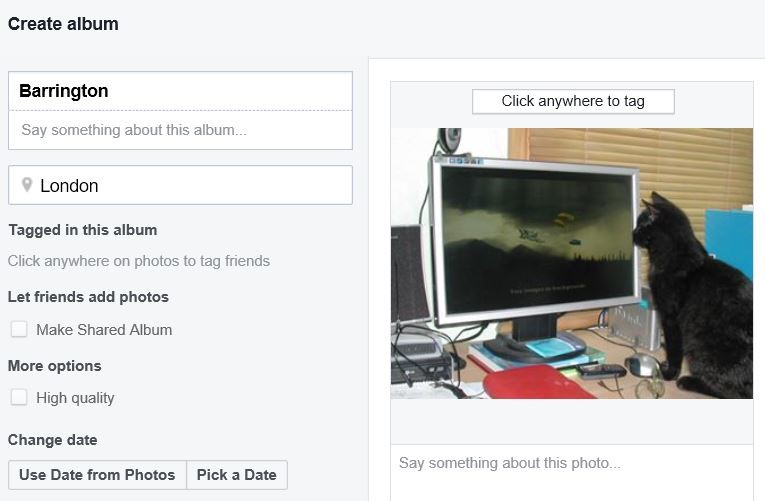
Click on the first photo that you want to use in your album. This will open a new window that allows you to give the album a name, a location such as the name of the venue an event took place in and also to tag friends who were also there.
Step 4: Adding more images to your Facebook album
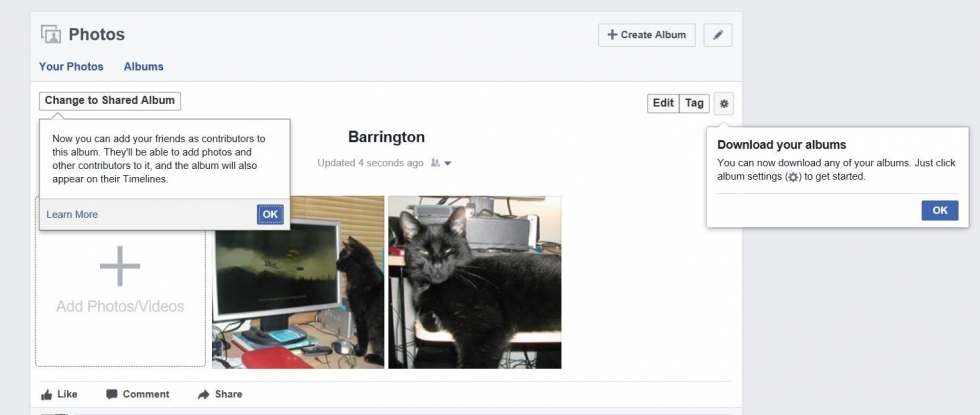
To add more photos to your album click on the square with a + symbol. You can add up to 1,000 photos in an album. Click Post when you are finished.

You also have the option to share an album with friends. This allows them to add photos to the album which is great if you were all at the same event.
Adding photos to facebook
![Adding photos to facebook]() Reviewed by Daniel Chuks
on
07:12
Rating:
Reviewed by Daniel Chuks
on
07:12
Rating:
No comments